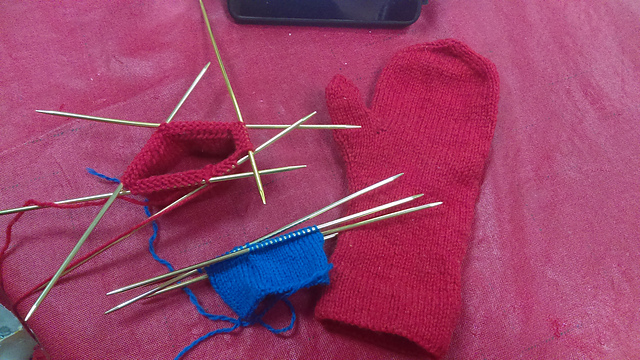
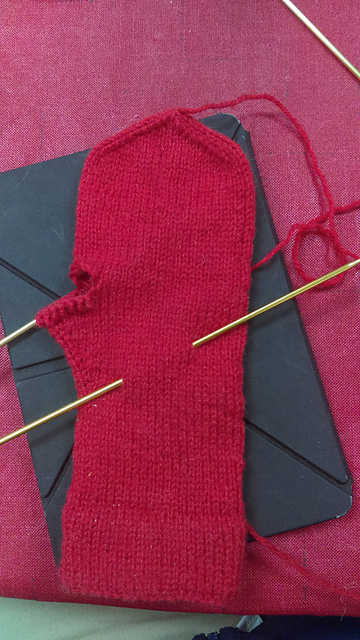
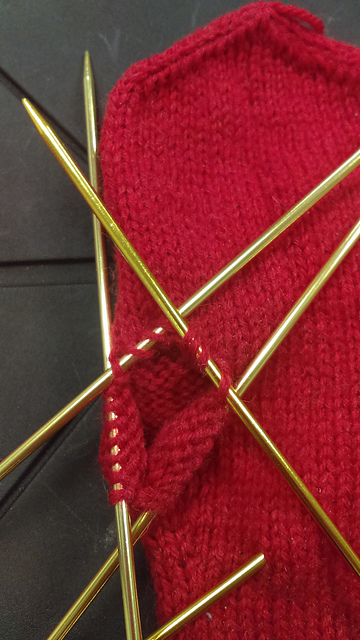
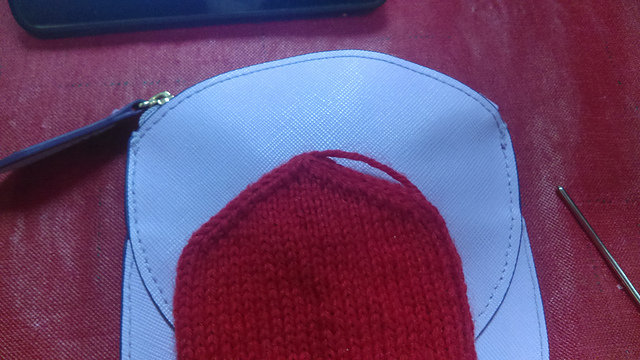
Saturday, April 30, 2016

Z is for Zippity-do-dah...

My oh my what a wonderful day
Plenty of sunshine heading my way
Zippity-do-dah zipping-ay

I am so happy to be done with this zany blog schedule.


Friday, April 29, 2016

Y is for Young and restless

Youth is perhaps not to blame for my yarn infidelity, but whatever the reason, my heart has certainly gone astray from this project.

Yarn-related pursuits that are not mittens:

This Civil War sock:

My car knitting


This Lucy Neatby sock from her free Craftsy class:

My bedtime knitting


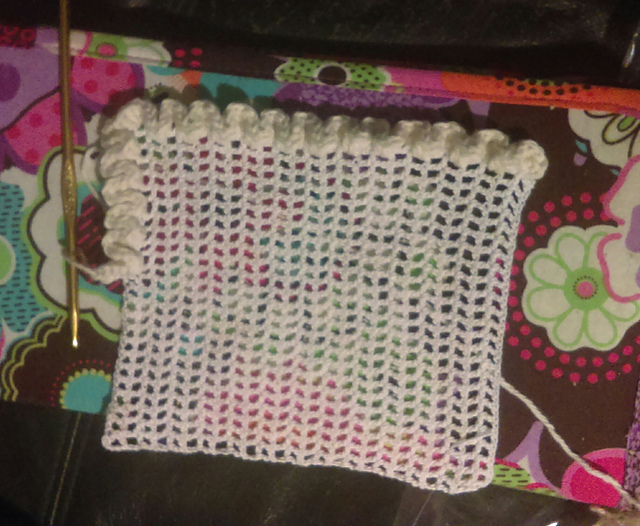
This crazy crochet washcloth:

Starts with a thread mesh, then you crochet ruffles into it. Why not?


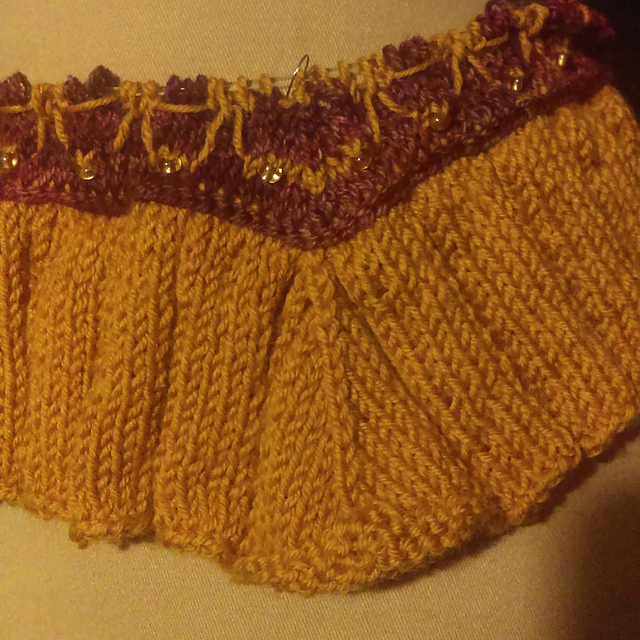
This beaded shawlette that I unearthed from deep in the unfinished object collection:

Sparkly


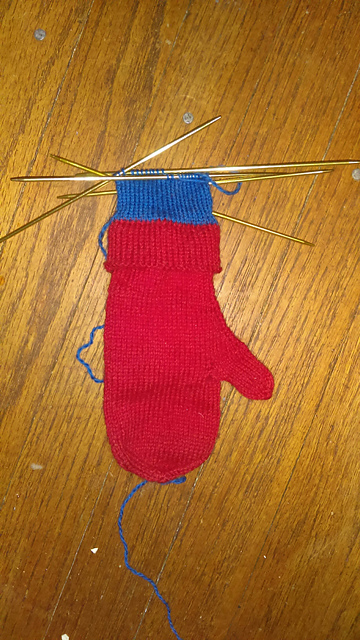
Yes, I have been faithless. Yet I do promise to finally complete the pair, at least by next fall, since they aren't just display pieces -my son really will be wearing them.

There you are

Thursday, April 28, 2016

X is for Xerox

Ideally, the second mitten should be an exact copy of the first, but in that quixotic ideal universe, I didn't make any mistakes on the first mitten.

With that in mind, I'll be taking extra care to avoid the extra stitches and decreases that so vexed me the first time around.

My expectation is that I will find exciting new errors instead.

Wednesday, April 27, 2016

W is for What have We learned?

Well, the month is winding down and my will to keep working on these mittens is dwindling, but not yet extinguished. What have We learned in the course of these whacky and wonderful four weeks?

-Swatches lie.
-Math is hard
-I can't count
-The inner dimensions of the mitten are more important than the outer dimensions
-I can't knit two fully lined mittens from scratch in a month, even child-sized ones
-Wool is really nice to work with


Tuesday, April 26, 2016

V is for Vivisection

One of the issues with the completed mitten is that the outer thumb is not long enough to accommodate the inner thumb. My strategy to solve this vexing problem is to chop open the top, rip back to before the thumb decreases, put it back on needles and knit it up with fresh yarn until it's long enough.

I'm waiting until I've finished the second mitten to actually attempt this, so there are no pictures yet.

I may also chop the top of the inner mitten main body and knit it longer, because there's almost half an inch of space between its top and the top of the outer mitten, but we'll see; maybe that can be fixed with blocking instead of the more violent proposed mad surgery.


Monday, April 25, 2016

U is for Upside-down and inside-out


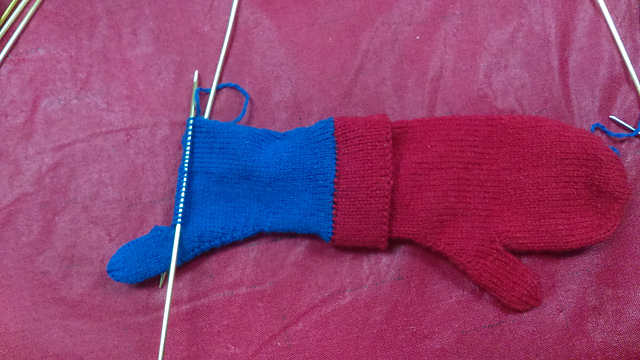
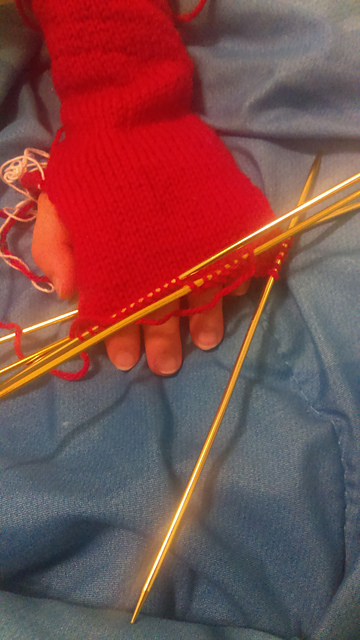
The inner mitten is complete, and can be tucked up inside the outer mitten.


Unfortunately, there are a couple of flaws that will need to be dealt with before the mitten is ultimately wearable, but that will be an undertaking for another day. For now, things are looking up.

Sunday, April 24, 2016

T is for Troubleshooting Thumbs

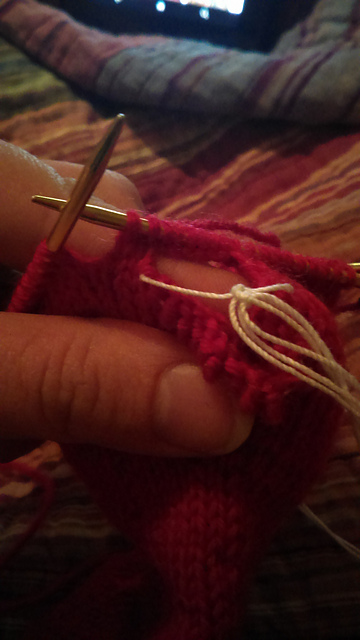
Time for a helpful tip. Typically when picking up stitches around the thumb, whether they're for the thumb or the hand, you end up with a little hole between the picked up stitches and the original live stitches. This can be remedied somewhat by picking up an extra stitch in that space and decreasing it away on the next round, but sometimes that isn't enough and there's still a gaping hole.


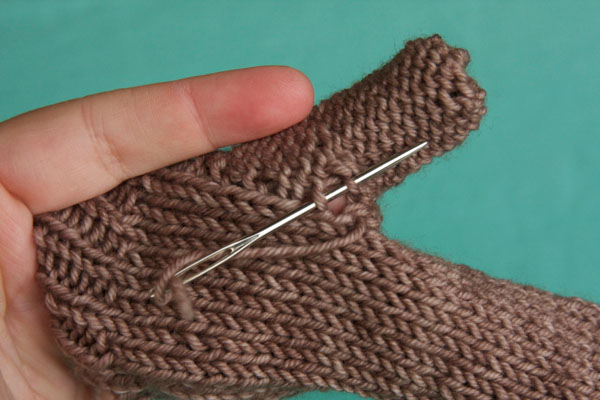
The good news is that you have a built-in darning thread - the tail from where you joined the yarn. Before you go to weave in that end, use it to sew up the hole, and the trouble is gone.


Tada!

In other news, the top decreases worked out perfectly.


Friday, April 22, 2016

S is for Stumped

So it should have worked to pick up seven stitches at the thumb cast-on, work around, decrease twice, work around, decrease once more, and have 48 stitches, but somehow I ended up with an extra stitch, but since it isn't going to show and I'm so sick of late night math sessions, I just threw in an extra decrease, and I'll sort it out in the second mitten before I set out to actually write up the pattern.

This screenshot sums up my feelings so well.

Seriously. So done.

Thursday, April 21, 2016

R is for Reverse Order

It was recommended to me that I work the lining thumb before the rest of the mitten rather than after, and I can see the reason in it - it would be really fiddly trying to pick up stitches with only a toddler-sized thumb-width worth of room to maneuver in.
`


The needles I'm using are too long for this tiny thumb, though, so the process is still very fiddly, and sometimes it feels like I'm trying to juggle a pincushion.

I'm not really sure that I'm doing this right, to be honest, but I forge ahead nonetheless.  After finishing the last gusset increase row, I worked up to the eight gusset stitches, then used a new needle to knit those eight stitches, and another new needle to cast on four more stitches.  Finally I took a third needle and joined the (20) thumb stitches in the round, and worked one round plain.  On the next round, I knit to the last stitch, and then knit it together with the first stitch of the next round.  In that next round, I decreased twice, and then once more in the following round, in rather random order, but the end result was 16 stitches.  I knit 10 rounds, then k2tog around twice until 4 stitches remained, cut the yarn, drew through the remaining stitches twice, and wove in the tail.


Wednesday, April 20, 2016

Q is for Quick

Quickly is how the lining is working up, and quick is what this post must be. No time for quibbling! Any questions?

Quick quiz!

What was Ma's maiden name?

Tuesday, April 19, 2016

P is for Picking up Stitches

As previously mentioned, in preparation for this post I swatched with my new Knit Picks yarn to see what size needles I would potentially be using to pick up the stitches for the lining.  I was pleasantly surprised to find that I could just keep using the size 2 needles I used for the main body of the mitten - with the fingering weight they provided me with 9 stitches per inch, precisely the gauge I wanted.  It should allow me to pick up the same number of stitches so that I could just keep to the pattern and create what is basically a slightly smaller mitten attached to the inside of the main mitten for an extra layer of warmth and wind protection.

Here is where I pick up my stitches.


This is the cuff turned inside out.  See the line of right-leaning stitches, right below?  Starting at the beginning of the round (discernible by the little bump of the slip-knot that was the start of my cast-on row), I insert my needle into each leaning stitch and knit into it using the lining yarn, until I have 44 stitches picked up, all the way around.

 
Just keep knitting, just keep knitting . . .


Up, up, up.  Hopefully the row gauge works out as well, otherwise I'll have to engage in some jiggery-pokery with the numbers to figure out how to make the the gusset, thumb, and decreases fit properly into place, but that's fodder for another post, and I'm perfectly pleased to procrastinate.

Monday, April 18, 2016

O is for On the Other hand...

I'm oddly optimistic about completing these mittens by the close of the month, but for that to be even remotely likely, I'm going to have to really open the throttle. So not only am I swatching for the lining on mitten number One...


I've also cast on and made headway on the other mitten.

Obviously I'm operating under absurd delusions of the amount of free time I actually have, but that has always been the case, so...

Onward!

Saturday, April 16, 2016

N is for Not Done Yet

The new yarn for the lining arrived today!

Knit Picks Palette, "Blue," 100% wool, fingering weight
I'll need to do some swatching to see what size needle and how many stitches I'll need to pick up to make a lining that fits neatly inside the mitten.  In the meantime, there are a few things I need to deal with on said mitten.


Those nefarious, nauseating, noodly ends.

Normally I wait until the very end of a project to even think about weaving in ends, but because these mittens will be lined, the ends need to be tucked away as I go or there will be nowhere to put them.  Ends are most invisible when woven in on the wrong side of the fabric, and the wrong sides will be hidden inside the linings once all is said and done.

Needs must.

Now, the good news is that there are only four ends altogether, the absolute minimum on a mitten (starting yarn, top tail, starting yarn on the thumb (not shown in the picture), thumb tail), since at no point did I have to join a second color or a new ball.  Bonus good news - I weighed the finished mitten, including ends, and it weighs exactly 25 grams, and since it was knitted from a 50 gram ball of yarn, that means there is exactly enough yarn left to make the second mitten with the same number of ends - I won't run short and have to join a new ball of yarn.

So I'll break out my darning needle, and see you all on Monday.

Friday, April 15, 2016

M is for Mittens

M marks the middle of the alphabet, and midway point of this month's challenge.  The main body of the first mitten is done; there's just some making up to be managed before I either start on the lining or make the second mitten.  As far as the knitting goes, I'm only 1/4 of the way through, considering that second mitten and the two linings, but the design work is basically finished.  If I decide I'm happy with it, I could theoretically write up the pattern now, except that I've never knit a mitten lining before, so I figure I'd better do that before I discover any major catastrophes along the way.

For today, meanwhile, I'm giving myself a break.

The three little kittens, they lost their mittens,
And they began to cry,
"Oh, mother dear, we sadly fear,
That we have lost our mittens."
"What!   Lost your mittens, you naughty kittens!
Then you shall have no pie."
"Meow, meow, meow."
"Then you shall have no pie."

The three little kittens, they found their mittens,
And they began to cry,
"Oh, mother dear, see here, see here,
For we have found our mittens."
"Put on your mittens, you silly kittens,
And you shall have some pie."
"Purr, purr, purr,
Oh, let us have some pie."

The three little kittens put on their mittens,
And soon ate up the pie,
"Oh, mother dear, we greatly fear,
That we have soiled our mittens."
"What, soiled your mittens, you naughty kittens!"
Then they began to sigh,
"Meow, meow, meow,"
Then they began to sigh.

The three little kittens, they washed their mittens,
And hung them out to dry,
"Oh, mother dear, do you not hear,
That we have washed our mittens?"
"What, washed your mittens, then you're good kittens,
But I smell a rat close by."
"Meow, meow, meow,
We smell a rat close by."


Thursday, April 14, 2016

L is for Like a sore thumb

Look!  It's almost a mitten!


Let's get down to business to create the thumb.

My first step is to transfer the stitches on the waste yarn back onto needles.  In doing so, I discovered that I had 15 thumb stitches, instead of 16.  This solves the mystery of why I had an extra stitch when I finished decreasing for the top of the mitten.  Apparently I literally can't count.  Thanks a lot, first grade.

Now I need to pick up the stitches around the open space.  Typically one picks up a stitch in each of the cast-on stitches (6), and one in the gap between the live stitches and the picked-up stitches (so 8 altogether, in this case).  Because I'm short a stitch anyway, I've picked up an extra stitch where the gap is particularly wide, which should help prevent the holes that are likely to occur around thumb bases.  Normally I would pick up these new stitches with the working yarn as I went, but I decided to try picking up the loops from the existing fabric first, just to see how it goes.


I don't like it any better than I ever like picking up stitches (which is not at all, ever), but it works well enough.

I join my working yarn at the first picked-up stitch and work around to the last live stitch, which I work together as a k2tog with the first new stitch, to further help closing the gaps from picking up stitches.  I do the same with the last picked-up stitch and the first live stitch as I continue, and keep decreasing on either side until I have 16 stitches left.  This whole section is a leap of faith for me - I'm not really sure how the thumb is going to end up fitting, especially with the lining inside.  Trial and error, like everything else I've done so far . . .


The rest of the thumb is knit plain until it reaches the top of my son's thumb, then I will k2tog around until there are 4 stitches left, cut the yarn (leaving an eight inch tail) and draw through the stitches twice to secure.


Wednesday, April 13, 2016

K is for Kitchener who?

Knitting lore claims that Lord Kitchener, in addition to raising armies for WWI, also rallied the knitters and submitted a pattern for a better sock for the soldiers, featuring a new way of closing the toe - grafting - that didn't leave the bulky, uncomfortable seam that the old method made.

Think of all the mittens I could have been working on while I was messing around with this poster on MS Paint

There's absolutely no evidence that the Earl Kitchener had anything to do with the advent of grafting sock toes, but it's still known as Kitchener stitch today, and it's not just for sock toes.  It creates an invisible join between two sets of live stitches anywhere you might want such a seam, including mitten tops.

Unfortunately, Horatio Herbert Kitchener popularized this method around 1915, so our mitten top isn't going to be Kitchenered.

Sorry, K is a really hard letter.

After ripping out my mitten top and reknitting it, I found that I was once again left with an odd number of stitches - 9 instead of 8.  Glaring at the mitten made no change, so I opted to just ignore the odd stitch and soldier on.  It's what Field Commander the Right Honorable Kitchener would have wanted.

The historical knitter we're trying to copy may have been frustrated with her mittens, too, since it looks like she ended up using two different methods of closing up the tops.  The mitten on the left was pretty obviously decreased down to a very few stitches and then cinched up through them, and the one of the right was probably finished with a three-needle-bind-off when there were about 16-18 stitches left.

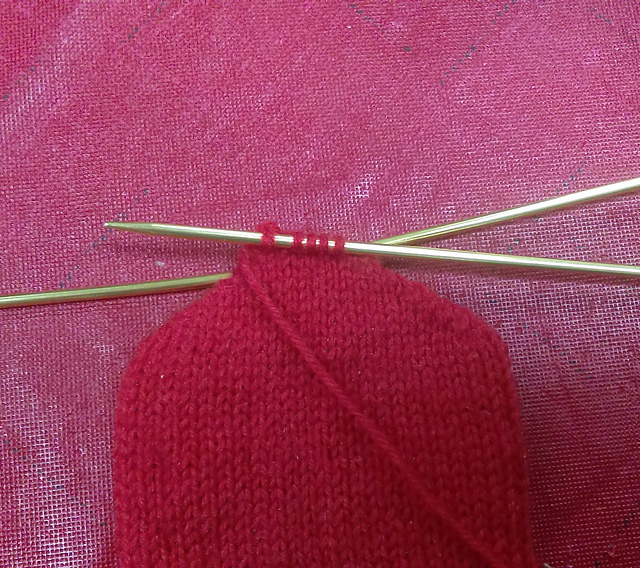
With only 9 stitches on my needles, it made the most sense to lasso them up, so I cut my yarn, leaving a long tail, and then used a darning needle to thread the tail through the remaining stitches, and pulled tight.  The end result was a little pointy, but acceptable.


That finishes the main body of the mitten.

Tuesday, April 12, 2016

J is for Just like a sock, and oh, Joy! More math

My mitten is just about at the top of my son's pinkie, so we're just about ready to jump into the top-shaping!  Judging by the Pinterest mittens, this should be accomplished using paired decreases, just like a flat toe on a sock.

For paired decreases, you make right-leaning decreases on one side of the front of the mitten, and left-leaning decreases on the other side of the front, and repeat on the back, for neatly symmetrical shaping. The right-leaning decrease is always knit-2-together (k2tog), and the period-correct left-leaning decrease is slip 1 knitwise, knit 1, pass-slipped-stitch-over (s1, k1, psso).

Right- or left-leaning refers to the way the decreased stitch lies, not necessarily which side they're on. If you put right-leaning decreases on the right side and left on the left, it creates a continuous line of stitches that frames the curve of the edge. Right-leaning stitches placed on the left side and left-leaning stitches on the right are subtler, as they lean into the edge. The latter is the effect shown in the historical sample, so that's what I'm using.

So onto rate of decrease. There's an inch difference between the top of the pinkie and the top of the middle finger, where the mitten will stop, and each decrease row will subtract four stitches.  Let's say I was to decrease every other round.  At 10 rounds to the inch, that's 5 decrease rounds, or 20 stitches subtracted from the starting 48.  I'd be left with 28 stitches to close, 14 stitches each front and back, and a mitten top just under 2" wide.  Too wide, I think.  Decreasing every round would leave eight stitches, which should make a more nicely rounded top.

Here is my sequence, then:

Needle 1: K1, k2tog, knit to end of needle
Needle 2: Knit to last three stitches, s1, k1, psso, k1
Repeat for needles 3 and 4

Repeat entire sequence every row until there are 8 stitches remaining (two on each needle).

Or, in my case, forget to keep one stitch before and after each end of the decreases, miss a decrease somewhere, end up with nine remaining stitches, rip back entire section.

 
Five mocking stitches where there should be four

I wonder if Ma wasn't ever tempted just a little bit to swear at her knitting, too.

Monday, April 11, 2016

I is for Inching along...

I don't know why this part seems so interminable, perhaps because I keep stopping to measure.  I said at the end of the last entry that I had about three inches to knit before I start the decreases for the top - that is incorrect.  Three inches is roughly the length from the wrist to the top of my four-year-old's pinkie, and a chunk of that is already in place from working the gusset.  Mathematical errors are inevitable; I've never been interested in the subject.


It is incredibly difficult to get a four year old boy to keep his hand still. The actual measurement was a shade under 2.5 inches from the cast-on stitches at the gusset, or 7.375 inches from the bottom edge of the cuff.

Saturday, April 9, 2016

H is for Hand


Now that we have the gusset and the thumb set-up out of the way, we can work on the hand of the mitten.  In the last entry I left the mitten halfway through the round, with the thumb stitches transferred to waste yarn.  The next step is to bridge the gap between the two needles where the thumb stitches used to be.

I lost two hand stitches when I made the gusset - the stitches at the end and beginning of the second and third needles, respectively - so I'll need to add those back, along with four more stitches to get the total number of the stitches in the hand up to 48 - the number I calculated to go around my son's hand above the thumb plus ease.  The easiest way to do this is use the backwards loop cast on - just cast 6 stitches onto the second needle, and then start knitting from the third needle. 

Stitches cast on

Starting to knit, in terrible light


 I usually knit the first couple stitches from the third needle directly onto the second needle, to keep a large gap from forming after the backwards loop stitches.  When I get to the next round, I use a little extra care to knit the newly cast on stitches without too much space forming between them - backwards loop is not very stable at the start and needs to be handled attentively to keep the tension even.  After a few rounds, I can shuffle the stitches around so they're evenly spaced again - now with 12 stitches on each needle.


The hand is now set up and I can whoosh through until I reach the top of the pinky finger (about 3 inches).

Friday, April 8, 2016

G is for Gusset

I have four inches of cuff now, measured from the turning row on the hem.  It's time to start the increases for the thumb gusset (sometimes also called a gore).

A gusset in knitting is a triangle of fabric created to give room for movement or an awkward shape (like a thumb sprouting from the side of a hand or a leg that suddenly makes a right angle and turns into a foot).  You find them most commonly after the heel turn on a sock (or before if you started from the toe), under the arm of a sweater, or under the thumb of a mitten or glove.

You can make a thumb opening in a mitten without first making a gusset, and many traditional Scandinavian mittens are made this way, because it doesn't interfere with the colorwork the way suddenly throwing increases in would.  The stitches for the thumb, usually 1/4 of the total stitches on the left or right palm, are knit onto waste yarn, and you continue over top of it, then come back after the body of the mitten is finished, take out the waste yarn and put the now-live stitches back on the needle to knit the thumb, or you just knit the entire body of the mitten without stopping, and go back and snip a single stitch in the middle of where you want the thumb to be, unravel half the thumb stitches to the left and half to the right from the snipped stitch, and pick up and knit as for the first method.

There are two reasons I rarely do an afterthought thumb - it doesn't fit as well on my hands, and it creates mittens that are specifically for one hand or the other.  You can make offset gussets that are hand-specific, and of course any mitten that has patterning on the back but not the palm will automatically have to be worn on a certain hand or the design won't be on the right side, but particularly in mittens for children, it's nice not to have to stop and figure out which hand goes in which mitten.  We already spend too much time doing that with shoes, thank you very much.

So, onto the gusset!

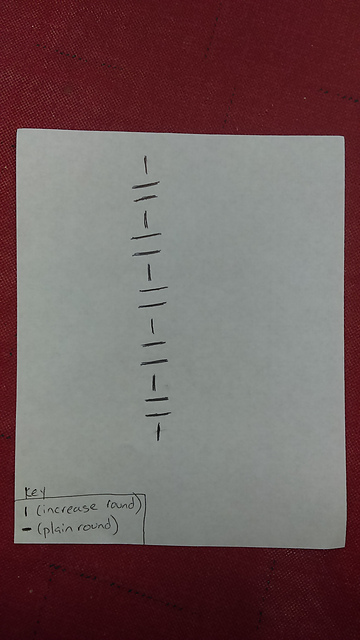
I already know that I need to have 56 stitches by the end of the gusset (see C is for Calculations).  I have 44 stitches on the needles now.  Between the wrist and the base of the thumb, I therefore need to increase 12 stitches.  This distance on my son's hand is about 1.5" and my row gauge is 10.5 rounds/inch.  Dividing the distance by the gauge gives me (approximately) 15, which is the number of rounds I have to make my increases in.  I could knit a plain round, make a single increase in the next six rounds, make a plain round, do six more increase rounds, and knit a plain round, but the model mitten that I'm working on appears to have its increases paired - two increases per round.  That only gives me six increase rounds to work with, so I'll need to find a way to space them evenly into 15 rounds overall.  I find it easiest to do this by drawing a picture.


So we can see that after the first increase I'll be increasing every third round. I end up with a total of 16 rounds, but it's close enough.

(After actually working the gusset, the math didn't work out, and the gusset wasn't big enough, so I added an additional two plain rows and increase, which will be reflected in the numbers to follow)

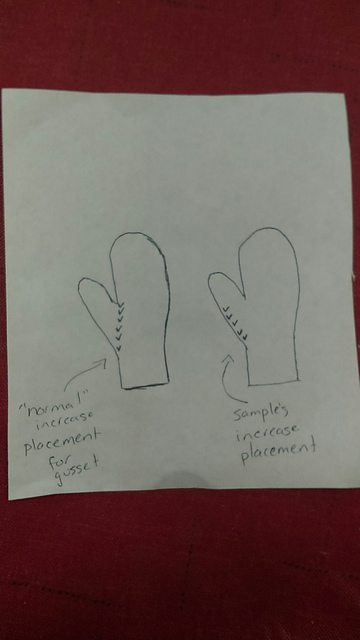
The placement of the increases on the mitten is the next consideration.  I mentioned in D is for Decoding the Design that the gusset on the historical mitten is made in an atypical fashion.  The increases are placed on either side of a couple stitches, and each subsequent increase is made next to those same stitches, creating, basically, a miter up the side of the mitten, with the newly made stitches growing into the hand of the mitten.  Normally, increases start at a single point, and each subsequent increase happens outside of the stitches created before, growing out of the side of the mitten, into the thumb.


The upside to the way we'll be making the mitten is that I won't need to mark where the increases will happen, it will always be before the last stitch of the second needle, and after the first stitch on the third needle.  Maybe that's why the original knitter chose to do it that way, or maybe she (or he, perhaps), wasn't paying attention and made the first few increases going the 'wrong' way and just decided to make it a design element, instead of ripping back and starting over.  I can get behind that kind of thinking.

So my gusset section will work thusly:

Rounds 1, 4, 7, 10, 13, 16, 19: Knit to the last stitch on second needle, increase, knit last stitch, knit first stitch on third needle, increase, knit to end of round
Rounds 2, 3, 5, 6, 8, 9, 11, 12, 14, 15, 17, 18: Knit

After 19 rounds, there are 7 stitches new stitches on either side of the two stitches that marked my increases.


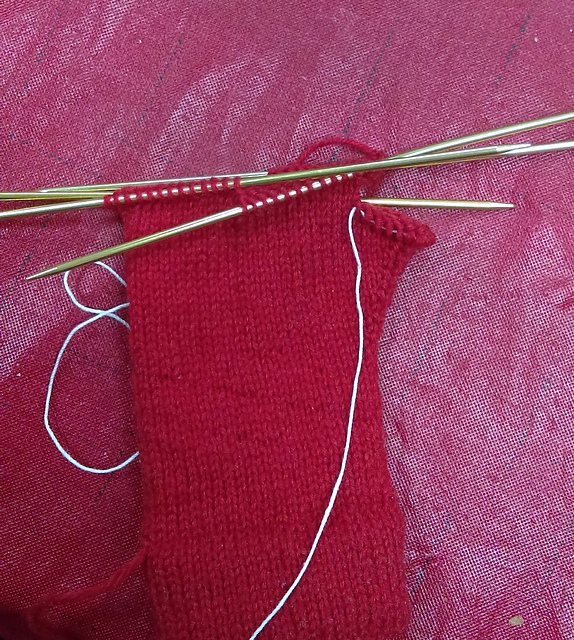
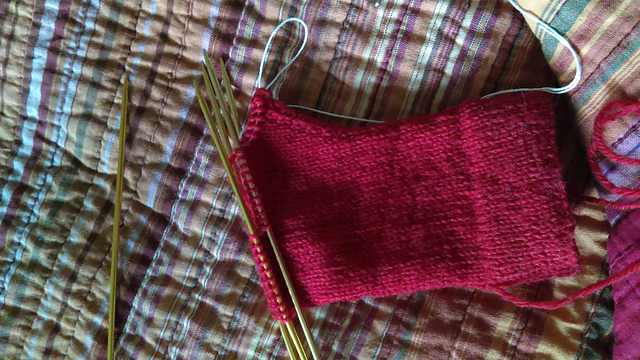
I knit up to the last 8 stitches on the second needle, then take a darning needle threaded with crochet cotton, and use it to slip those 8 stitches, and the first 8 stitches on the third needle, onto the thread.


 This will keep the stitches live and out of the way while I work on the hand, and they'll be ready for me to pick back up when I return to finish the thumb.