
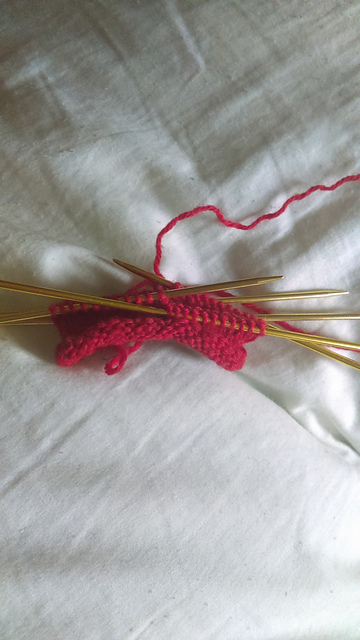
If I just keep knitting every stitch, the bottom edge of the mitten curls up into a rolled edging that no amount of blocking will keep flat.
To avoid this, I could have alternated the rounds of the first inch with knitting and purling for a garter stitch edge, or I could have opted to do the entire cuff in ribbing, two of the most common ways to keep roll-happy stockinette stitch in check.
The mittens I'm using for reference, however, appear to have a faced, or folded, hem, so that is the edging technique I am using. After that first inch of all knit rows, I purl one round, and then continue knitting.

This creates a line where the fabric naturally wants to fold inward, because of the same stitch tension that causes the knit rounds to fold outward. When I fold the bottom edge up to the inside, that round of purls creates a new, very tidy edging.
I keep knitting until there's about an inch of rounds above the turning ridge.

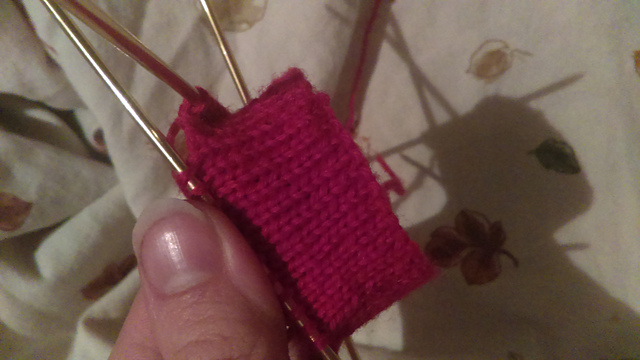
When folded up to the inside, the cast-on edge lines up with the stitches on the needles. On the next round, as I insert my working needle into each stitch, I also pick up a loop off the cast-on, and work them as one, like a K2tog decrease.
 |
| This was hard to get a picture of, but you can see the needle in the first loop, next to it the second loop, and my thumbnail is pointing to the third loop, so you have an idea where loops on the cast-on edge are |
After I've done this all the way around, joining each live stitch with a loop from the cast-on, the edge is completely secured, and I have a lovely folded hem.

If joining the hem as you go is too much stitch juggling for you, it may be simpler to whip-stitch the edge to the inside after you've finished knitting the mitten, but personally I never sew when knitting can get the job done just as neatly. You could also leave the hem completely unattached, and pick up the lining directly from the cast-on edge, which I probably would have done if I wasn't so enamored of the join-as-you-go method. As it is, the join leaves a little ridge on the inside that will work just as well as a place to pick up the stitches later on.
PS, if instead of a purl row, you (YO, K2tog) across the turning row, the end result will be a picot hem, which is an adorable, feminine edging option.
I wish I could knit! So many interesting tidbits with the A to Z Challenge! That looks like it will be a very nice mitten.
ReplyDelete@IsaLeeWolf
A Bit to Read